
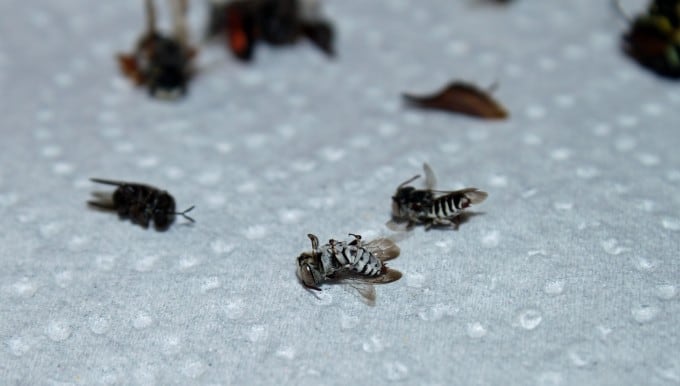
In prior blogs, I talked about methods of collecting bees from nets to bowl traps. I am now going to talk about the process of pinning the insects that have been collected. If the collected bees are frozen, put them on a paper towel or tissue to dry for 10 minutes or so. I will usually gently role them in a tissue to remove any excess condensation from thawing. A picture below shows some bees on a paper towel thawing out. If the bees are from a bowl trap or collected and stored in alcohol, follow steps from my bowl collecting blog to dry the bees before pinning them.
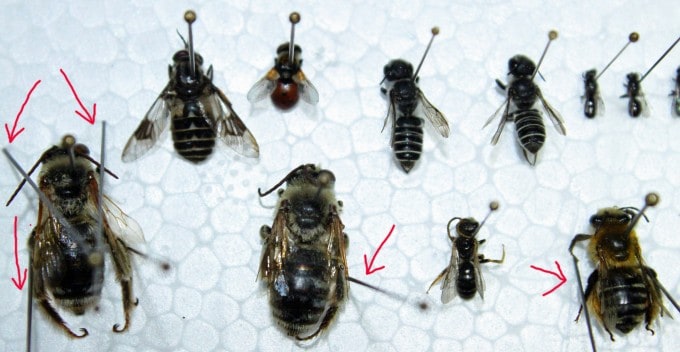
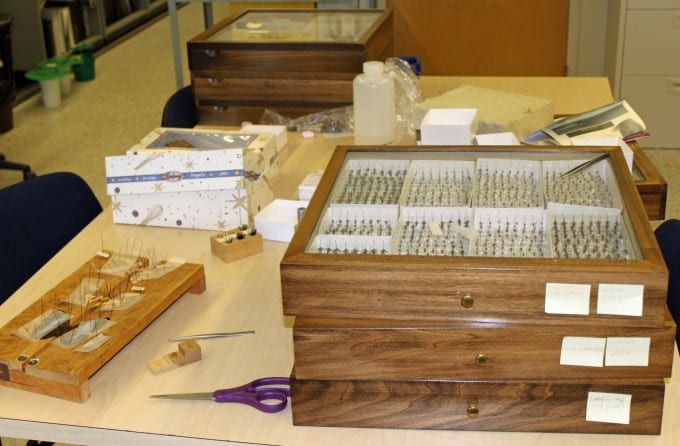
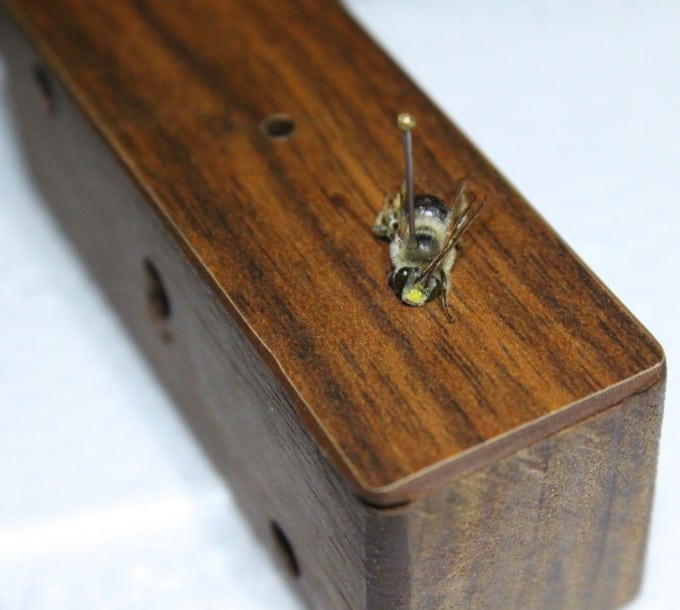
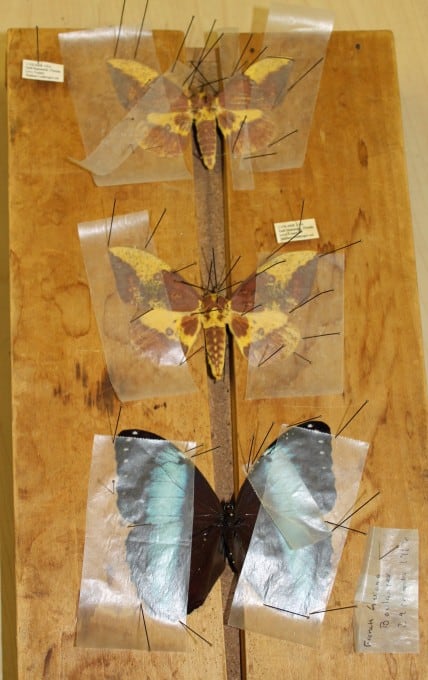
Here are items that are needed to pin bees: pins (stainless steel pins are best because they don’t corrode like regular black paint-coated pins), and a pinning block pictured above. This can be made by hand by drilling different depths into wood or it can be purchased from an entomology supply store. Other pinning block materials are Styrofoam or pages from an old book (idea from Dr. Chris Tipping, Entomologist from Delaware Valley College.) I always use Styrofoam for small specimens to prevent braking off heads and abdomens. There are other items used for pinning but these are the most common materials and methods I use. Next you will need a flat piece of Styrofoam to place insects on to pin legs and wings close to the body or spread them for a realistic appearance as shown photographed below. I have also included pictures of bees on Styrofoam showing similar methods to spread them. I like to leave the pinned specimens to air dry for at least 3-7 days. I have included a photograph below of a pinned Lepidoptera on a spreading board to demonstrate one way entomologists try to restore a realistic look to dead insects. In some cases, spreading insects helps in identification to genus species where in other cases the genitalia may need to be removed to arrive at the correct genus species.
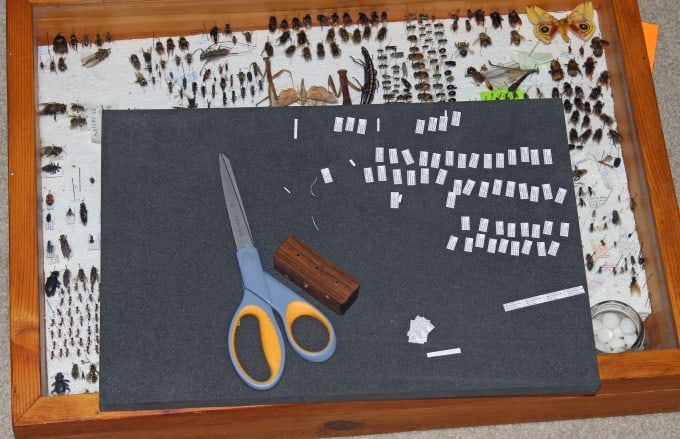
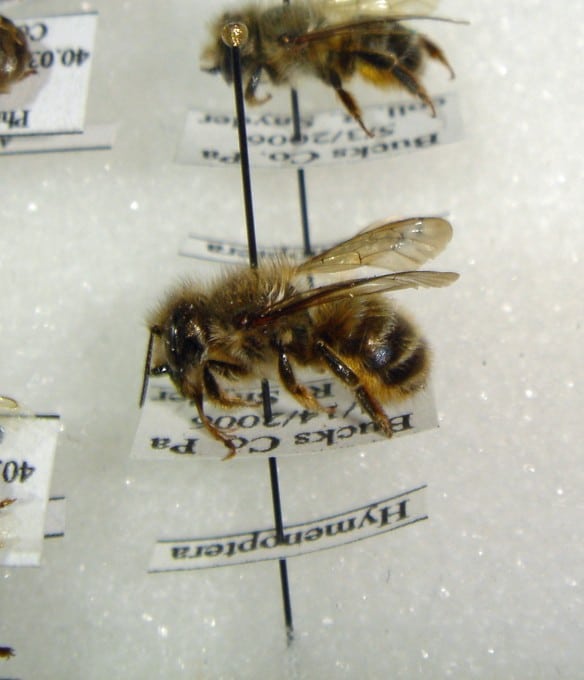
Once the specimens are dry, you can now put location labels below the specimens on the pin. The middle hole on the pinning block is used to space the label properly. There is an image below showing labels cut out and ready to be placed on individual specimens. I have also included a photograph of a bee with the label on the pin with the insect Order label below. I usually will put the Genus species below the locality label but this image was from 2006. It should be noted that there are many different ways to label insects and this is the way I prefer to label them.
